Na Vuong
June 14, 2024
•
10 min read

Sending a tweet directly from your app might sound complex, but it’s simpler than you think. In this guide, we’ll take you step by step through the process of integrating Twitter’s posting capabilities into an app built with Retool. Whether you're looking to automate social media updates or enable users to post directly from your platform, this guide will help you unlock new functionality with ease.
First, you'll need to set up authentication and access tokens. These will give your app the necessary permissions to make requests on behalf of users who connect their Twitter accounts.
Begin by creating an account, project, and app within the Twitter Developer Portal. You can do this using your Twitter account.

Next, obtain the keys needed for authentication and authorization from the "Keys and Tokens" tab in your Twitter app settings. We'll use OAuth2 for this integration, so we'll have to enable it first.
Enable OAuth 2 authentication in the "User Authentication Settings" section under the Settings tab of your app. Projects & Apps > Click the App > Go to Settings Tab. Scroll down and you’ll see "User Authentication Settings"

In this section, add the Callback URI/Redirect URL and the domain that will have access to the app. As you can on the image below, I already added the Callback URL Retool provides when using OAuth 2.0 authentication. You can also fill out optional fields like Organization Name, URL, Terms of Service, and Privacy Policy.

We then save our Client ID and Secret for use later.

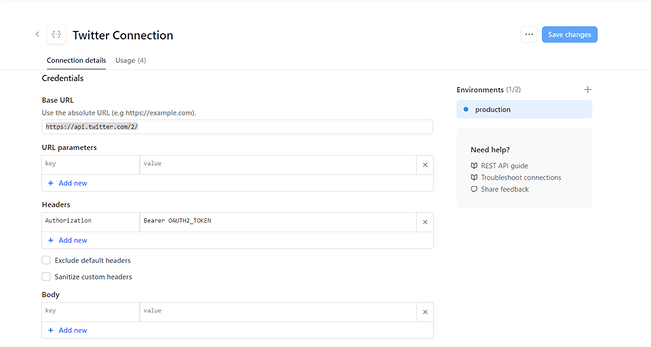
Now, let’s set up the resource connection in your Retool app for the Twitter app you created. The base URL of the Twitter API is:
<https://api.twitter.com/2>Configure the headers of this resource to include the Authorization property with the value as Bearer OAUTH2_TOKEN.

Scroll down and select OAuth 2.0 as the authentication method. Retool will provide a callback URL to use as the redirect URI in the Twitter Developer Portal. You’ll also need to fill out fields like Authorization URL, Access Token URL, Client ID, and Client Secret. Additionally, we should add the required parameters that Retool doesn’t automatically include, such as the code_challenge and code_challenge_method.
As for the scopes, the endpoints we will include in this guide requires the scopes:
tweet.read tweet.write users.read

Twitter Authorization URL:
<https://twitter.com/i/oauth2/authorize>
With parameters:
<https://twitter.com/i/oauth2/authorize?code_challenge=challenge&code_challenge_method=plain>
Do the same for the Access Token URL:
<https://api.twitter.com/2/oauth2/token>
With parameters:
<https://api.twitter.com/2/oauth2/token?code_verifier=challenge>
In these URLs, code_challenge can be any string you choose, and the method is plain. The value of code_challenge will also be used as the value of code_verifier in the Access Token URL.
After entering the Client ID and Client Secret (saved from your Twitter Developer Portal setup), specify the scopes required for granting permissions.
Now, test the connection with the Connect button at the bottom of the page.


Upon successful connection, you’ll be redirected back to your Retool app with a “Connected” message. You can also check the token status.
Now, let’s hit some Twitter endpoints using this resource connection!
To test a simple GET request, use the /users/me endpoint.
It should have this response when I connect using my twitter account.
{
    "data": {
        "id": "1513961167018147840",
        "name": "lander audian",
        "username": "AudianLander"
    }
}
Next, try posting a tweet via the /tweets endpoint.
This should use the POST request method. Here is a sample request body:
   {
	   "text": "Test tweet from a web app"
   }
Sample of response and how it would look like in my twitter:
{
		"data": {
			"id": "1445880548472328192",
			"text": "Test tweet from a web app"
		}
}
Great, You've successfully integrated the Twitter API to post tweets from within a Retool app. Now you can use this functionality in any part of your Retool app.
Ready to bring your dashboard vision to life? Contact Retoolers today, and let us help you create a powerful, intuitive dashboard that meets your exact requirements.
Looking to supercharge your operations? We’re masters in Retool and experts at building internal tools, dashboards, admin panels, and portals that scale with your business. Let’s turn your ideas into powerful tools that drive real impact.
Curious how we’ve done it for others? Explore our Use Cases to see real-world examples, or check out Our Work to discover how we’ve helped teams like yours streamline operations and unlock growth.

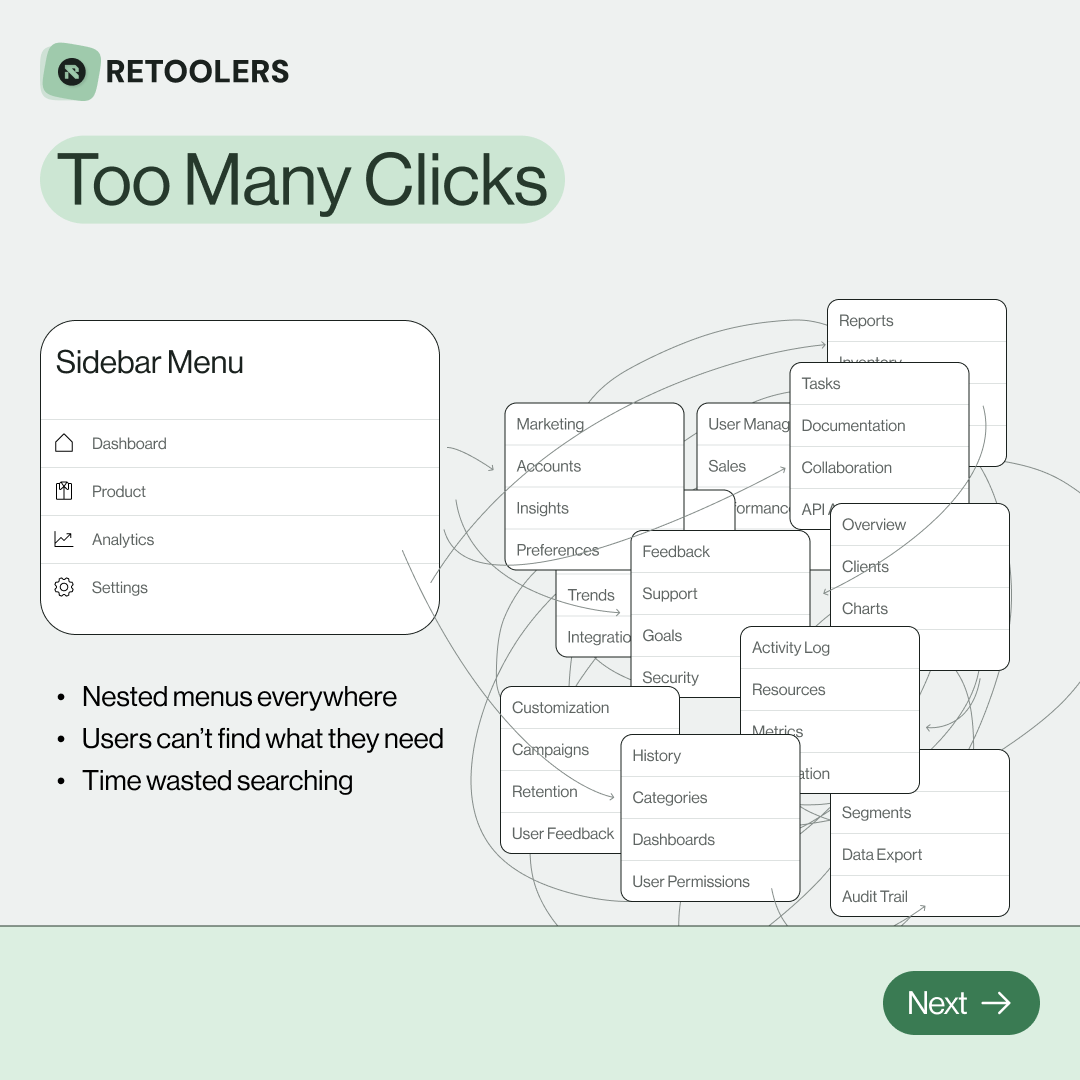
🔎 Internal tools often fail because of one simple thing: Navigation.
Too many clicks, buried menus, lost users.
We broke it down in this 4-slide carousel:
1️⃣ The problem (too many clicks)
2️⃣ The fix (clear navigation structure)
3️⃣ The Retool advantage (drag-and-drop layouts)
4️⃣ The impact (happier teams)
💡 With Retool, you can design internal tools that are easy to use, fast to build, and simple to maintain.
👉 Swipe through the carousel and see how better UX = better productivity.
📞 Ready to streamline your tools? Book a call with us at Retoolers.

🚀From idea → app in minutesBuilding internal tools used to take weeks.
Now, with AI App Generation in Retool, you can describe what you want in plain English and let AI do the heavy lifting.
At Retoolers, we help teams move faster by combining AI + Retool to create tools that actually fit their workflows.
👉 Check out our blog for the full breakdown: https://lnkd.in/gMAiqy9F
As part of our process, you’ll receive a FREE business analysis to assess your needs, followed by a FREE wireframe to visualize the solution. After that, we’ll provide you with the most accurate pricing and the best solution tailored to your business. Stay tuned—we’ll be in touch shortly!


