Phu Nguyen
July 31, 2024
•
15 min read

This guide gets you up and running with a single image/file uploader module in Retool in no time. Forget complex setups; we'll walk you through the steps, from choosing the right component to handling uploads efficiently. Enhance your Retool apps with user-friendly data collection – let's dive in!
Creating uploader module in Retool
Modules are reusable across apps, lightweight, and keep things focused – perfect for single-purpose tasks like this.
To create a module, on your home page, select Create new > Module and give it a unique name. Unlike apps, modules have a single container for components (no header, sidebar, etc.) as they'll be embedded within your app. This container spans the canvas width, but you can adjust it later.

To enhance your image uploader's flexibility, let's leverage module‘s inputs. Imagine an e-commerce app where users upload product images. The module should display a dynamic container title ("Main Product Image" or "Secondary Image" based on category) and pre-fill the URL field with an existing image URL (if editing). Module’s inputs act like hidden settings within the module, receiving values from your app. These inputs come in two flavors: data inputs and query inputs. While we won't need query inputs for the image uploader, data inputs are essential. Here’s how to do it:
Title: (Optional description) Set a default title.

Image URL: (Optional description) Link to an existing external image.

{{ title.value }} and {{ imageUrl.value }} in the container title and URL fields. These values come from your app, so titles and URLs can adapt based on what your app provides.While data inputs allow your image uploader to receive values from your app, outputs serve the opposite purpose. They let your module share data back with the app that uses it.
To add an output, open the Inspector and find the "Outputs" section. Click the "+" button and enter the desired value in the "Value" field.

Now that your Retool UI is ready, let's tackle the final hurdle: building the query to upload file/image to Google Cloud Storage. Before you can interact with Google Cloud Storage from Retool, you'll need to establish a connection between the two platforms. This typically involves setting up service accounts and granting appropriate permissions. The provided blog post https://retoolers-io.webflow.io/blog-posts/how-to-connect-retool-with-google-cloud-and-manage-api-keys should guide you through this connection process.
Since you've already established a successful connection between Retool and Google Cloud Storage, let’s create a query uploadImage for uploading images with metadata:
async function uploadImage() {
  const mimeType = fileInput1.files[0].type;
  const extension = mimeType.split('/').pop();
  localStorage.setValue("fileInput", `${uuid.v4()}.${extension}`);
  localStorage.setValue("fileExtension", mimeType);
  await uploadToGCS.trigger({
	  onSuccess: function(data) {
      url1.setValue(data?.signedUrl.split("?GoogleAccessId")[0]);
    },
    onFailure: function(error) {
      utils.showNotification("Error", error, "error", "3s");
    }
  });
  await setMetadata.trigger();
}

await uploadImage();
This query will handle:
Now, let's delve deeper into the specifics of each step within the Retool query:
Grabs MIME type and extension from the selected file, store a unique filename for uploading by using Retool's built-in functions uuid.v4().
Let's build the upload functionality using GUI:

If uploading successfully, setting value of URL component to data, otherwise showing error notification.
Enhance your upload functionality by including metadata for the uploaded files/images:

Finally, create Click event handler uploadImage.trigger() in “Button” component.

Now, let's test the module's functionality by creating an app in Retool using this module and uploading a PDF file.

If uploading successfully, the module will display the URL of the uploaded file within Google Cloud Storage. This URL allows anyone with the link to access the uploaded PDF.

Congratulation! You have successfully created a single image/file uploader module in Retool. Now you can embed this module within any Retool app to enhance its functionality.
Ready to bring your dashboard vision to life? Contact Retoolers today, and let us help you create a powerful, intuitive dashboard that meets your exact requirements.
Looking to supercharge your operations? We’re masters in Retool and experts at building internal tools, dashboards, admin panels, and portals that scale with your business. Let’s turn your ideas into powerful tools that drive real impact.
Curious how we’ve done it for others? Explore our Use Cases to see real-world examples, or check out Our Work to discover how we’ve helped teams like yours streamline operations and unlock growth.

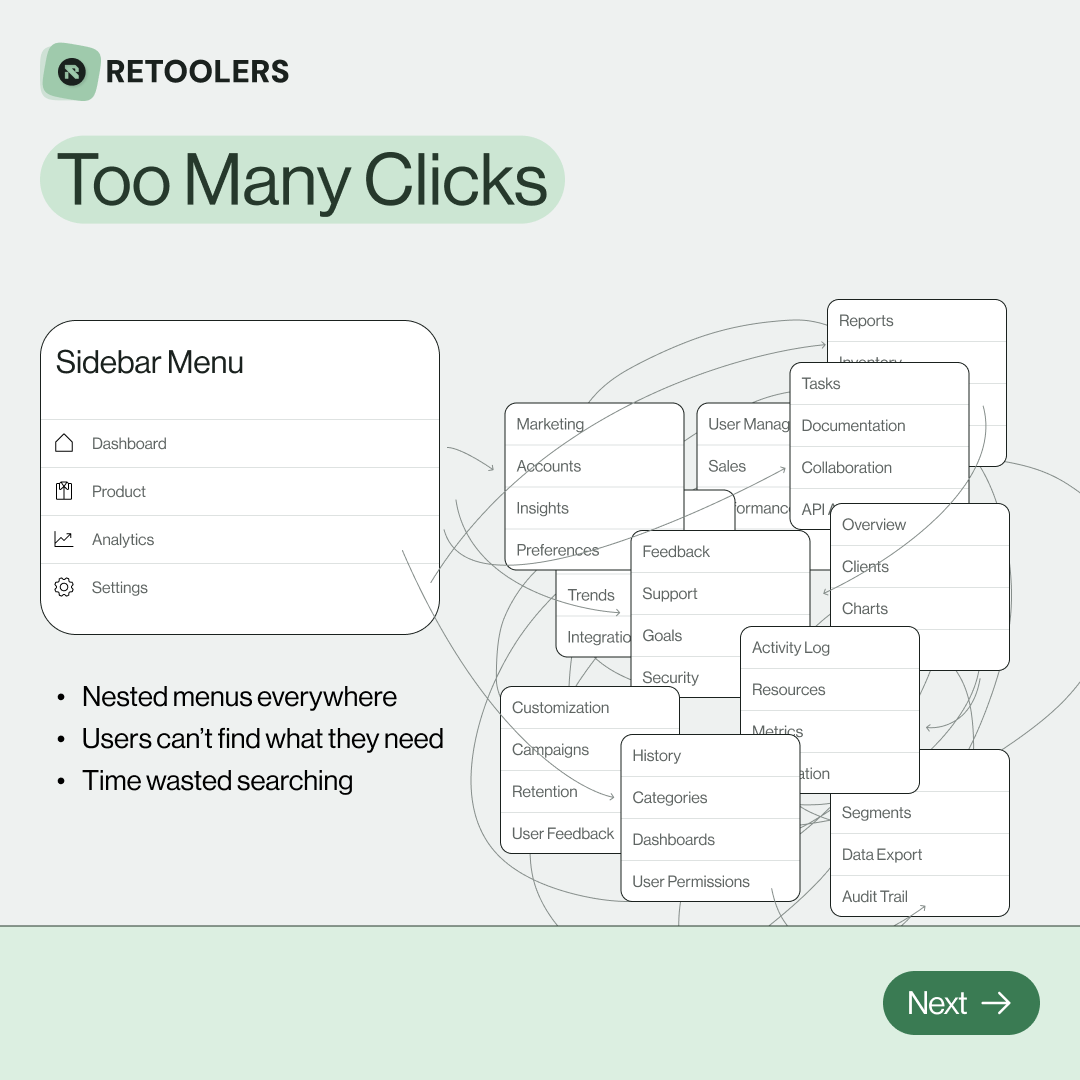
🔎 Internal tools often fail because of one simple thing: Navigation.
Too many clicks, buried menus, lost users.
We broke it down in this 4-slide carousel:
1️⃣ The problem (too many clicks)
2️⃣ The fix (clear navigation structure)
3️⃣ The Retool advantage (drag-and-drop layouts)
4️⃣ The impact (happier teams)
💡 With Retool, you can design internal tools that are easy to use, fast to build, and simple to maintain.
👉 Swipe through the carousel and see how better UX = better productivity.
📞 Ready to streamline your tools? Book a call with us at Retoolers.

🚀From idea → app in minutesBuilding internal tools used to take weeks.
Now, with AI App Generation in Retool, you can describe what you want in plain English and let AI do the heavy lifting.
At Retoolers, we help teams move faster by combining AI + Retool to create tools that actually fit their workflows.
👉 Check out our blog for the full breakdown: https://lnkd.in/gMAiqy9F
As part of our process, you’ll receive a FREE business analysis to assess your needs, followed by a FREE wireframe to visualize the solution. After that, we’ll provide you with the most accurate pricing and the best solution tailored to your business. Stay tuned—we’ll be in touch shortly!


